After creating the layout, and after adding and formatting text, it's
now time to insert media files into the page to make it look more like
the MX Kollectionpresentation page. After viewing
the display page in browser, with the text
you added earlier, use the Edit content
link to go back to the edit page and insert
media files this time. Click the Show/Hide Invisible
Elements button to be able to see the table borders.
You'll consider again the five sections mentioned previously:
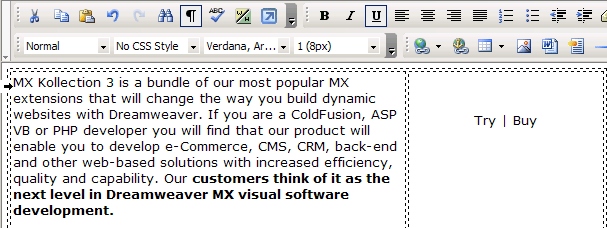
To insert images in the Introduction
section, follow the next instructions:
Place the mouse cursor in the first paragraph of the
second table column (it should be an empty paragraph), and click the Image button:
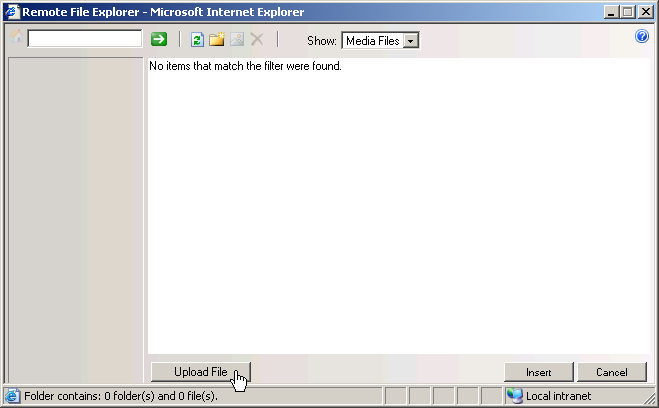
In the window that pops-up (Remote
File Explorer), click the Upload File
button to upload the needed files (any file needs to be first uploaded
on the remote server before being inserted in page):
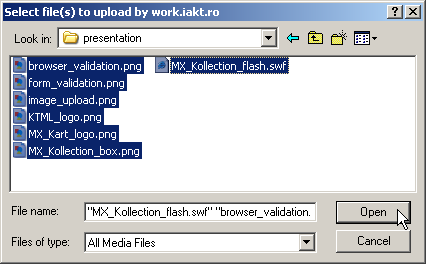
In the window that opens, browse to the presentation
folder from the .zip package (wherever you stored
it -- in your site folders or outside the site). Since the
editor allows you to upload multiple files at once, select the
six image files and the flash movie (click the first file, hold the Shift key and click the last file).
Then click Open:
Back to the Remote
File Explorer window, you will notice seven thumbnails (corresponding
to the uploaded files) in the file area on the right. Select the MX_Kollection_box.png file and click the Insert button:
The image is inserted in page:
Press the Save button (below
the KTML textarea) to save the changes and view
the page. Then click the Edit content
link to go back to editing, and do not forget to click the Show/Hide
Invisible Elements button.
Insert media files in the Benefits section
In the Benefits section you
have to insert a flash movie in the first paragraph of the second column.
The file is already uploaded on the remote server. Proceed just as explained
above to insert the MX_Kollection_flash.swf
file.
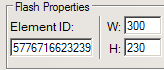
Once the file is inserted in page, click on it and in the Flash
Inspector, set the following properties:
Enter 300 in the W text box (movie width).
Enter 230 in the H text box (movie height).
Save the changes and then return to the edit
page.
Insert media files in the Notable features section
There are no images or movie files to be inserted in this section (check
here).
Insert media files in the Flash movies section
In the Flash movies section
you have to insert an image in each cell of the first table row. The three
images are already uploaded, but they are too big to fit in the page layout,
so you need to edit them a little before inserting them in page:
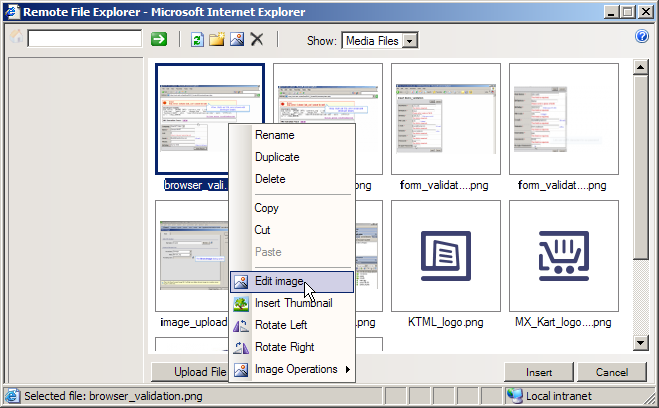
Open the Remote File Explorer
by clicking the Image button on the toolbar.
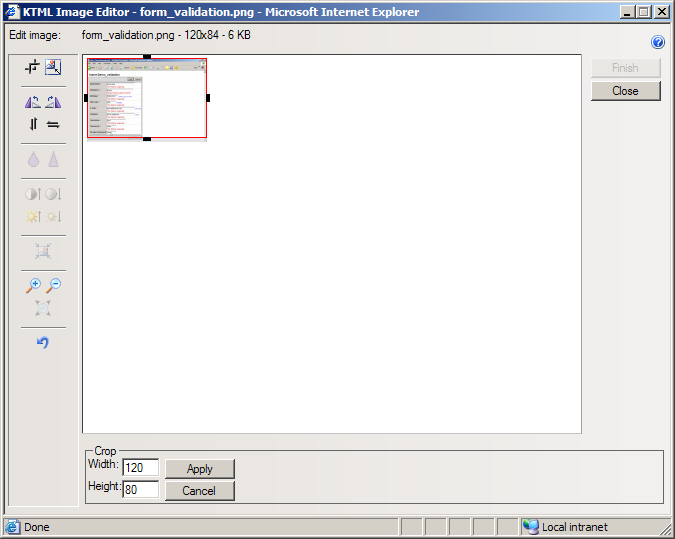
Right-click on the browser_validation.png
file and select the Edit image option:
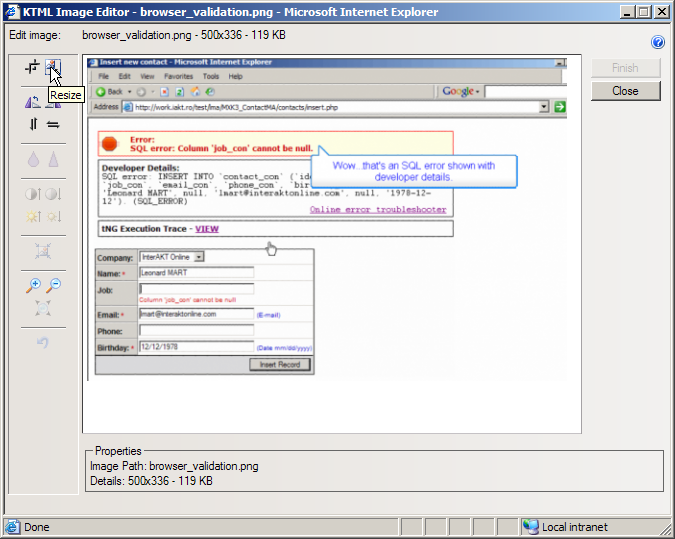
The Image
Editor window will open. Click the Resize
button on the left to change the image dimensions:
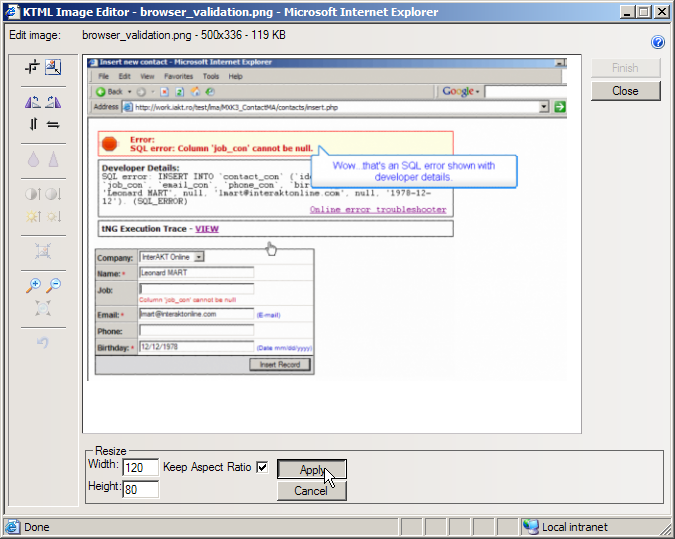
In the Resize properties,
in the lower part of the interface, set the Width
to 120 pixels and keep the proportion ratio.
The Height will be automatically calculated
to 80 pixels (120/80 are the dimensions you
need in this page layout). Click Apply to keep
the changes:
Click Finish to close the
Image Editor window.
In the same manner, bring the other two image files
(form_validation.png, image_upload.png)
to the 120/80 size.
If after setting the Width
to 120, the Height
is not calculated to 80 (but more), use the
Crop
operation to edit the image (the Crop button
is placed next to the Resize one in the Image Editor). It's the case for the form_validation.png
file:
You also need to resize and then crop the image_upload.png file.
Note: Know that all these image
changes take place server-side.
After editing (resize and crop) the images, follow the steps (for the
insert operation) presented above, and:
Insert the browser_validation.png
file in the first cell.
Insert the form_validation.png
file in the second cell.
Insert the image_upload.png
file in the third cell.
Select each of the three images inserted in page, and in the Image
Inspector, set the border thickness to 1 pixel (enter 1
in the Border text box).
Save the changes and then return to the edit
page.
Insert media files in the See also section
In the See also section you
have to insert an image in each cell of the first table column. The two
images are already uploaded. Follow the steps (for the insert operation)
presented above, and:
Insert the KTML_logo.png
file in the first cell.
Insert the MX_Kart_logo.png
file in the second cell.
Select each of the two images inserted in page, and in the Image
Inspector, set the horizontal and vertical spaces to 9 pixels (enter
9 both in the H Space
text box and V Space text box).
Click Save to keep the changes you have made.
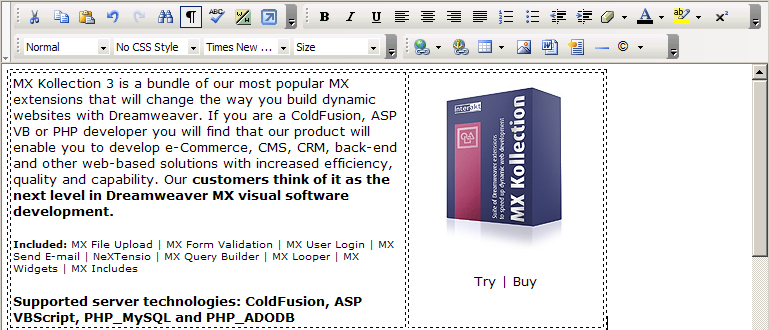
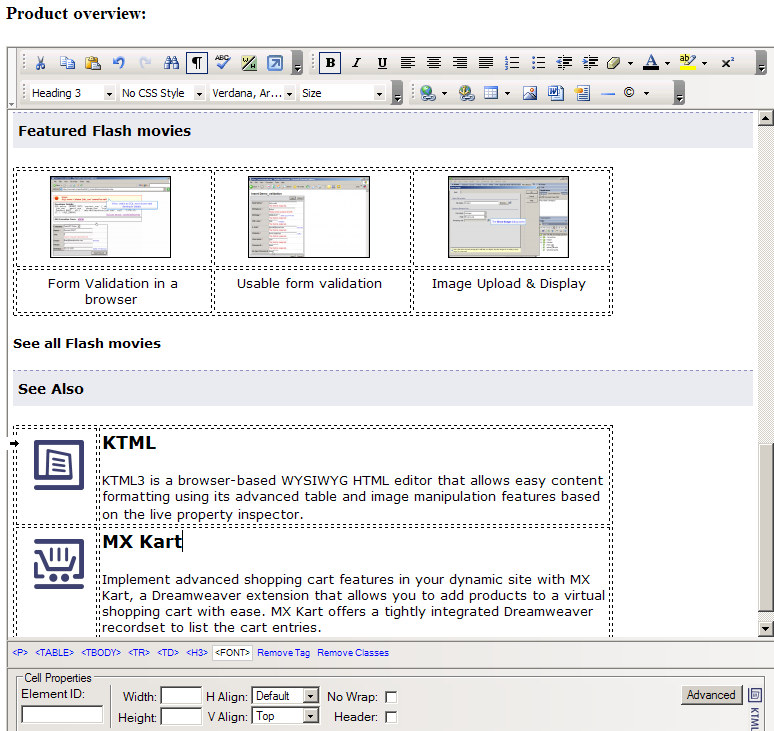
After following all the steps above, the KTML
area in the edit page should look like below
(when showing the invisible
elements, namely the table borders):
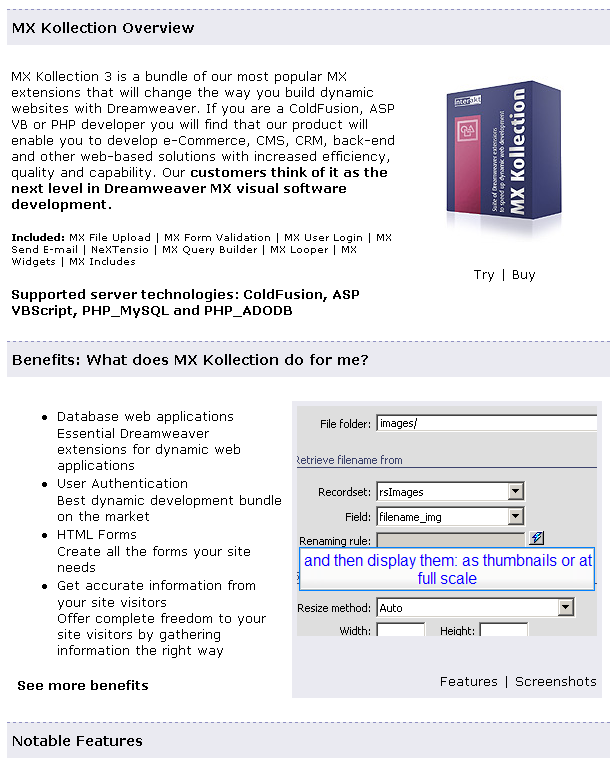
After inserting media files and saving the changes,
the display page looks as follows: