The KTML Image Editor window pops-up in the
following three situations:
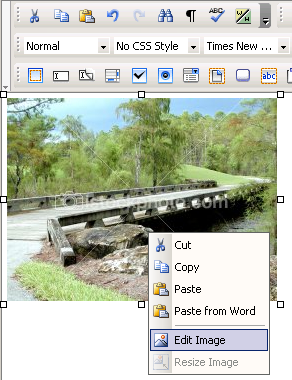
While having an image selected in the
editor editable region, you click the Edit Image
option in the right-click contextual menu:
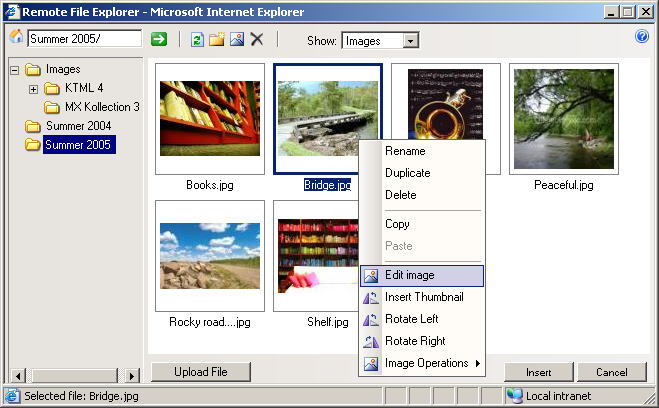
While having an image selected in the files area of
the Remote File Explorer window, you click the
Edit Image option in the right-click contextual
menu:
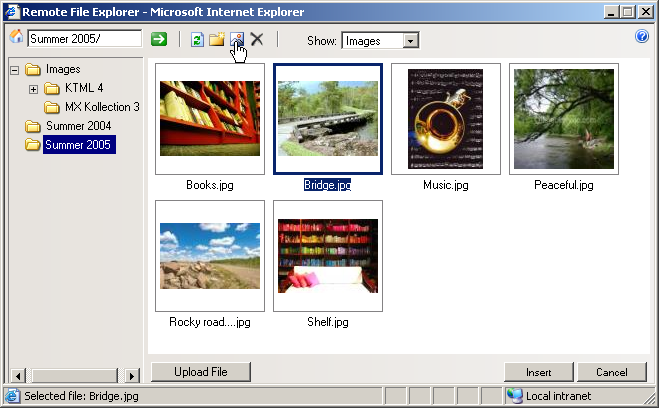
While having an image selected in the files area of
the Remote File Explorer window, you click the
Edit Image button in the Remote
File Explorer window:
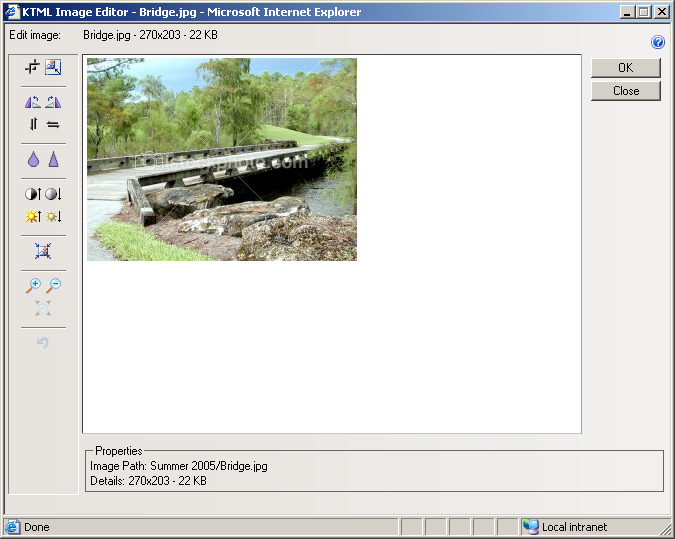
The KTML Image Editor
window looks like the user interface below:
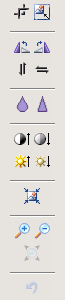
The operations that you can perform to edit an image are accessible
through the buttons on the left:
Crop/Resize
Rotate Left/Right
Flip Vertically/Horizontally
Blur/Sharpen
Increase/Decrease Contrast
Increase/Decrease Brightness
Compress Image
Zoom In/Out
Reset Zoom
Reset
Note: Except for the zooming
commands, when altering an image through any of the other ones, the changes
will take place server-side (the image on the server will be modified).
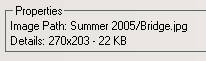
In the lower part of the interface, you are offered some information
about the current image (path, name, dimensions, size):
To learn how to use each control in the Image Editor
window, read the instructions below:
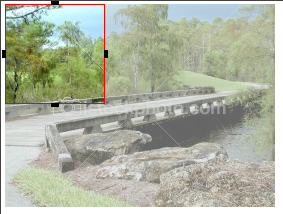
When clicking the Crop
button, a 100 pixels/100 pixels square is displayed on top of your picture:
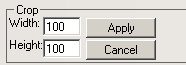
You can change its position by dragging it around, and its dimensions
by using either its handlers, or the Width and
Height text boxes that show in the lower part
of the interface:
Once you click the Apply
button near the text boxes, the image part that is covered by the rectangle
will be cut out from the initial picture and will become the new picture.
The Cancel button annuls
the crop operation.
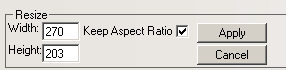
When clicking the Resize button,
two text boxes (Width and Height)
will show in the lower part of the interface, displaying the image dimensions
(in pixels):
You can modify the image size by using the Width and Height text boxes,
and the Keep Aspect Ratio checkbox (similar
to the Constrain control) as explained here.
Once you click the Apply
button near the text boxes, the image will be resized according to the
values entered for its width and height.
The Cancel button annuls
the resize operation.
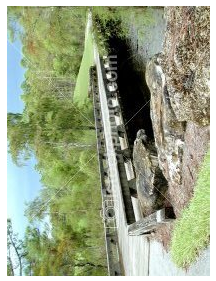
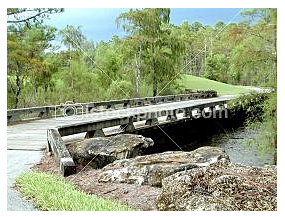
Click the Rotate Left button
if you want to rotate the current image to the left:
Note: The operation was applied when the image was in the status
displayed here. This same observation remains
available for the next examples (steps 4 - 15).
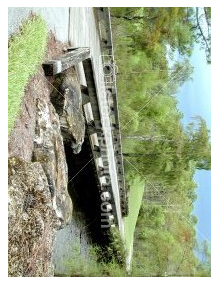
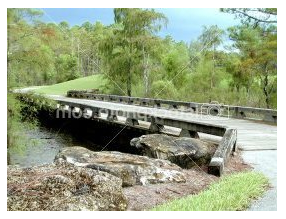
Click the Rotate Right button
if you want to rotate the current image to the right:
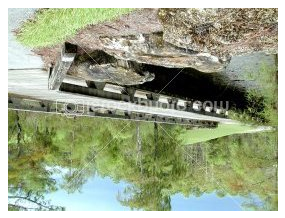
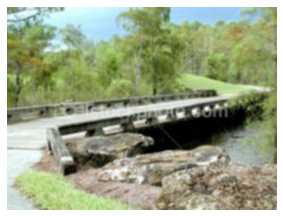
Click the Flip Vertically
button to flip the image with 180 degrees vertically (the new image shown
will be the old one seen in a horizontal mirror):
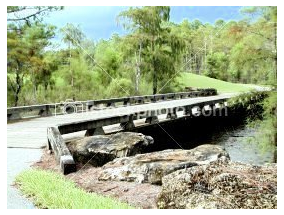
Click the Flip Horizontally
button to flip the image with 180 degrees horizontally (the new image
shown will be the old one seen in a vertical mirror):
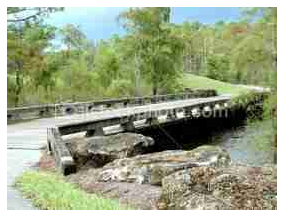
Click the Blur button to give
the current image a blurry effect:
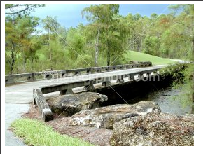
Click the Sharpen button to
give the current image a sharp effect:
Click the Increase
Contrast button to secure more contrast in the current image:
Note: To obtain the image above, the Increase
Contrast button was pressed twice (to make the effect clearer).
Click the Decrease Contrast
button to secure less contrast in the current image:
Note: To obtain the image above, the Decrease
Contrast button was pressed twice (to make the effect clearer).
Click the Increase Brightness
button to secure more brightness in the current image:
Click the Decrease Brightness
button to secure less brightness in the current image:
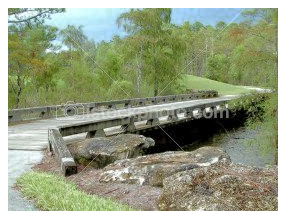
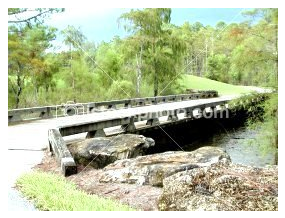
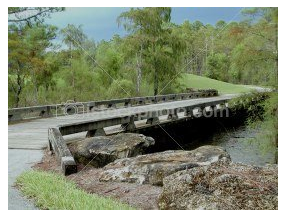
Click the Compress Image button
to modify the image quality in order for its size (in kb) to decrease.
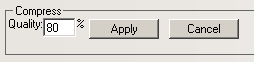
You will notice in the lower part of the interface the Quality
text box, where you can enter a number between 1 and 99. This number represents
how many percents from the initial quality you want the quality of the
modified image to be:
The default value of the Quality
text box is 80. Say you enter 20; the compressed image will look like
this:
Once you click the Apply
button near the text box, the image will be compressed according to the
value entered in the Quality text box.
The Cancel button annuls
the compress operation.
Click the Zoom In button to
enlarge the image proportionally. Each click will increase the image a
little more. This operation is used when you need to see certain image
details up close:
Note: To obtain the image above, the Zoom
In button was pressed four times.
Click the Zoom Out button
to diminish the image proportionally. Each click will decrease the image
a little more:
Note: To obtain the image above, the Zoom
Out button was pressed four times.
The Reset Zoom button becomes
active only after you clicked the Zoom In and
Zoom Out buttons for an unequal number of times
(the image size is no longer the initial one). Once you click the Reset Zoom button, the image will be brought to its
original size.
The Reset button is not active
when you first launch the KTML Image Editor.
It becomes active after you perform at least one operation on the image.
By clicking it, all the operations that you just performed on the image
will be canceled, and the image will be displayed in its initial state.
The Help button on the top-right
corner of the interface has the same role as described here,
just that it regards the KTML Image Editor interface.
The OK button changes its
label to Finish after you perform the first
operation on the image.
If you click it while its label is still OK,
the window will close (no change was made).
By clicking the Finish
button, the KTML Image Editor window will close
and all the changes that you performed on the selected image will become
visible in page.
By clicking the Close button,
the KTML Image Editor window will close and
no change will be performed on the current image.