After creating the layout for the MX Kollection 3
presentation page, it is now time to add text to it. Remember that the
page you are trying to build is the one here.
After viewing
the display page in browser, with the layout
you added earlier, use the Edit content
link to go back to the edit page and add
text this time. Click the Show/Hide Invisible Elements
button to be able to see the table borders.
You'll consider again the five sections mentioned previously:
To add text in the Introduction
section, follow the instructions below.
If you have a Microsoft Word
license, you can see the Clean Word Mark-up
feature at work:
Open the MX_Kollection_presentation.doc
file from the package. It contains the text to be displayed in the first
table column. The text is already formatted in Microsoft
Word so to look just like on the MX Kollection
page.
Copy the text from the file and paste it in the
first column of the table.
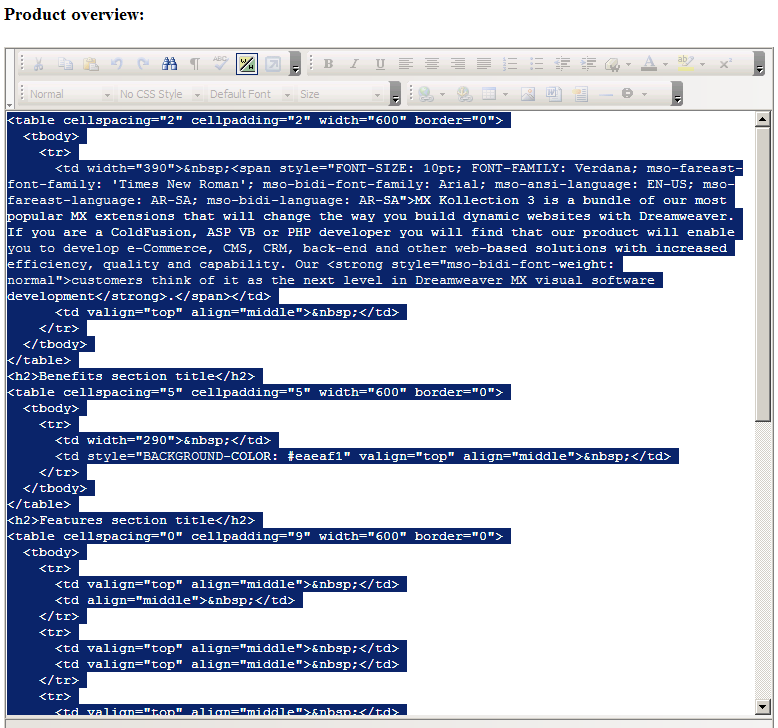
The text will show in the first table column. Select
it and switch to Code view to
take a look at all the tags that come from Microsoft
Word:
Go back to Code
view and keep the text selected.
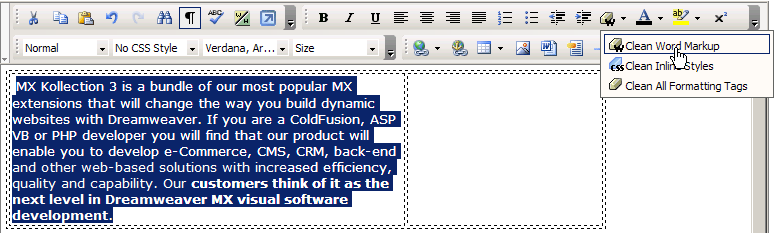
Select the entered text and click the Clean
Word Mark-up option:
All the unneeded tags noticed previously will be
removed. Check this for yourself by switching to Code
view once again.
Once you are done with the text in the first table
column, follow the instruction below (step 6
in the next set of instructions) for the second table column.
If you do not own a Microsoft Word
license, you'll do the formatting yourself:
In the first column of the table, copy and paste
the three paragraphs below, between the dotted
lines (it is the text from the MX Kollection
overview page, and it has no formatting styles applied to it).
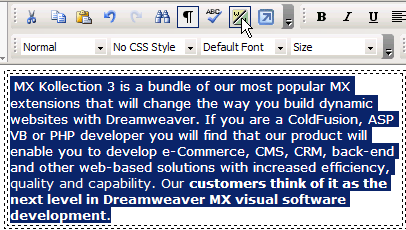
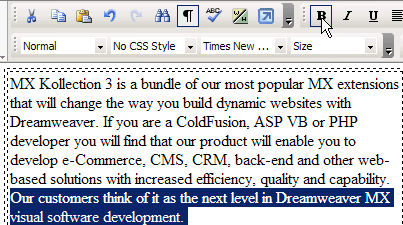
Select the last sentence in the first paragraph
(except for the first word) and then click the Bold
button to make the selected text bold:
Select the first word (and the following colon)
in the second paragraph and make it bold as well (just like shown above).
Select the whole second paragraph and set its font
size to 1 (8 px).
Make the third paragraph bold.
In the second column of
the table, create a new paragraph (you will insert an image in the first
paragraph later on). Type "Try | Buy" in the second paragraph
(make sure the font is Verdana and the size
is 2 - check this in the corresponding drop-down
menus from the toolbar).
Once you are done with adding and formatting text
in the first section, you can press the Save
button (below the KTML textarea) to save the
changes and view the page. Then click the Edit
content link to go back to editing, and do not forget to click
the Show/Hide Invisible Elements button.
Text for the Introduction
section:
----------
MX Kollection 3 is a bundle of our most popular MX extensions that will
change the way you build dynamic websites with Dreamweaver. If you are
a ColdFusion, ASP VB or PHP developer you will find that our product will
enable you to develop e-Commerce, CMS, CRM, back-end and other web-based
solutions with increased efficiency, quality and capability. Our customers
think of it as the next level in Dreamweaver MX visual software development.
Supported server technologies: ColdFusion, ASP VBScript, PHP_MySQL and
PHP_ADODB
----------
Add text in the Benefits section
To add text in the Benefits
section, follow the next instructions:
Change the title of this section from "Benefits
section title" to "Benefits: What does MX Kollection do for
me?": copy the new title in the clipboard, select the old one, and
then press Ctrl+V to change it
(or simply delete the old title and type the new one).
In the first column of the table, copy and paste the
paragraphs below, between the dotted lines.
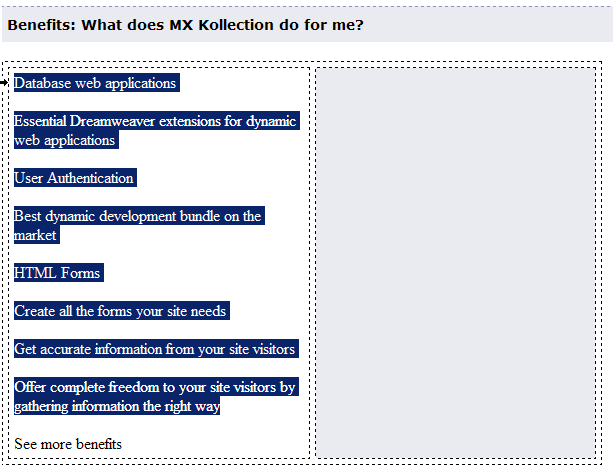
As you can see, there are nine paragraphs. After the
1st, 3rd, 5th, and 7th paragraphs, press Shift+Enter,
followed by Delete. This will
stick consecutive paragraphs, two by two. So now you'll have 5 paragraphs.
Select the first four paragraphs and include them in
a bulleted list, as shown in the image below:
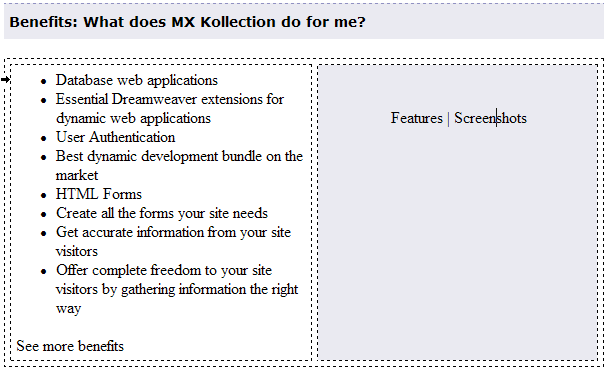
Make the text on the fifth paragraph ('See more benefits')
display as bold (as shown above).
In the second column of the table, create a new paragraph
(you will insert a flash movie in the first paragraph later on). Type
"Features | Screenshots" in the second paragraph (make sure
the font is Verdana and the size is 2
- check this in the corresponding drop-down menus from the toolbar).
Select the "Features | Screenshots" text and
align it to the right, as shown below:
Check if the font of the added text is Verdana
and if the size is 2 (look in the corresponding
drop-down menus from the toolbar). If not, you know how
to change it. Press the Save button (below
the KTML textarea) to save the changes and view
the page. Then click the Edit content
link to go back to editing, and do not forget to click the Show/Hide
Invisible Elements button.
Text for the Benefits
section:
----------
Database web applications
Essential Dreamweaver extensions for dynamic web applications
User Authentication
Best dynamic development bundle on the market
HTML Forms
Create all the forms your site needs
Get accurate information from your site visitors
Offer complete freedom to your site visitors by gathering information
the right way
See more benefits
----------
Add text in the Notable features section
To add text in the Notable features
section, follow the next instructions:
Change the title of this section from "Features
section title" to "Notable Features" (proceed like in the
previous section).
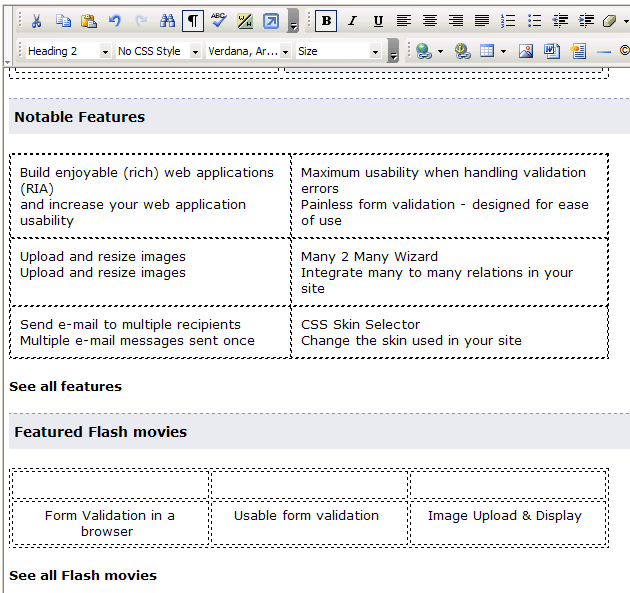
Copy and paste the six text sections below
(between the dotted lines) in the six cells of the table (start with the
first column, then the second one). Do not copy the 1-6 numbering also.
Note: You will notice how the first column's width changes once
you paste text in its cells, but by the time you are done with the second
column as well, the width of the columns will find its 'balance'.
In each of the six table cells, unite the two paragraphs
by positioning the cursor at the beginning of the second paragraph, and
then pressing Backspace, followed
by Shift+Enter.
Replace the "See all" text at the end of the
section with "See all features". It will become a link later
on.
Check if the font of the added text is Verdana
and if the size is 2 (look in the corresponding
drop-down menus from the toolbar). If not, you know how
to change it. Press the Save button (below
the KTML textarea) to save the changes and view
the page. Then click the Edit content
link to go back to editing, and do not forget to click the Show/Hide
Invisible Elements button.
Text for the Notable
features section:
----------
1. Build enjoyable (rich) web applications (RIA)
and increase your web application usability
2. Upload and resize images
Upload and resize images
3. Send e-mail to multiple recipients
Multiple e-mail messages sent once
4. Maximum usability when handling validation errors
Painless form validation - designed for ease of use
5. Many 2 Many Wizard
Integrate many to many relations in your site
6. CSS Skin Selector
Change the skin used in your site
----------
Add text in the Flash movies section
To add text in the Flash movies
section, follow the next instructions:
Change the title of this section from "Flash section
title" to "Featured Flash movies" (proceed like in the
'benefits' section).
Copy and paste the three text sections below
(between the dotted lines) in the three cells of the second table row.
If you followed each step in the layout
topic, the text should be displayed centered and on top of the cell.
Replace the "See all" text at the end of the
section with "See all Flash movies". It will become a link later
on.
Check if the font of the added text is Verdana
and if the size is 2 (look in the corresponding
drop-down menus from the toolbar). If not, you know how
to change it. Press the Save button (below
the KTML textarea) to save the changes and view
the page. Then click the Edit content
link to go back to editing, and do not forget to click the Show/Hide
Invisible Elements button.
Text for the Flash
movies section:
----------
Form Validation in a browser
Usable form validation
Image Upload & Display
----------
Add text in the See also section
To add text in the See also
section, follow the next instructions:
Change the title of this section from "See also
section title" to "See Also" (proceed like in the 'benefits'
section).
Copy and paste the four text sections below
(between the dotted lines) in the two cells of the second table column
(first two paragraphs in the first cell, next two in the second cell).
Make sure the font of the pasted text is Verdana
and the size is 2.
Note: Do not worry about the columns width looking messed up
right now.
Select the "KTML" and "MX Kart"
texts and make them display as Heading 3 (from
the Format drop-down menu choose the Heading
3 option).
Press the Save button (below
the KTML textarea) to save the changes and view
the page.
Text for the See
also section:
----------
KTML
KTML3 is a browser-based WYSIWYG HTML editor that allows easy content
formatting using its advanced table and image manipulation features based
on the live property inspector.
MX Kart
Implement advanced shopping cart features in your dynamic site with
MX Kart, a Dreamweaver extension that allows you to add products to a
virtual shopping cart with ease. MX Kart offers a tightly integrated Dreamweaver
recordset to list the cart entries.
----------
After following all the steps above, the KTML
area in the edit page should look like below
(when showing the invisible
elements, namely the table borders):
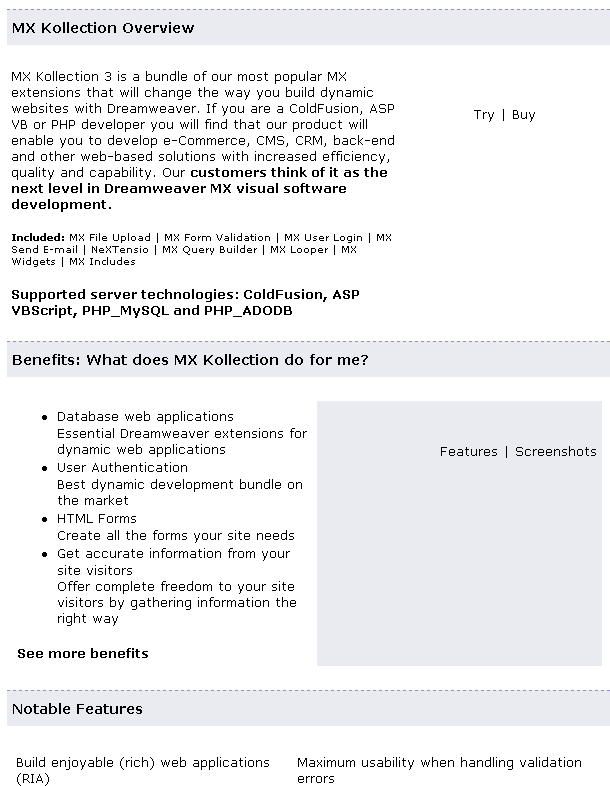
After adding text and saving the changes, the
display page looks as follows: