After creating the layout, adding text, and inserting media files, it's
now time to create the required links to build a page similar to this
one. After viewing
the display page in browser, with the images/movies
you inserted earlier, use the Edit content
link to go back to the edit page and insert
media files this time. Click the Show/Hide Invisible
Elements button to be able to see the table borders.
You'll consider again the five sections mentioned previously:
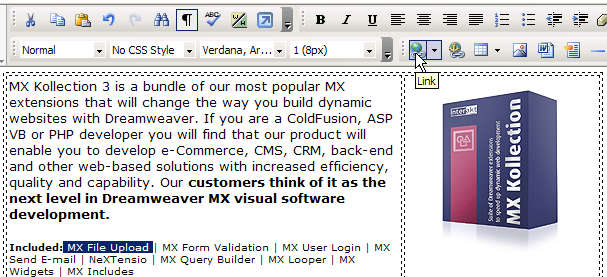
There are quite several links that you should create in this section.
Except for the first word, the second paragraph in the first table column
contains only links. To create the first one, follow the next instructions:
Select the "MX File Upload" text and press
the Insert Link button:
In the Link Inspector that
opens in the lower part of the interface, enter http://www.interaktonline.com/Products/Dreamweaver-Extensions/MXFileUpload/Overview/
in the Href text box (delete the default "http://").
With this, the link is created.
In the Target drop-down menu
select New Window. This way, the page to which
the link points will open in a new browser window.
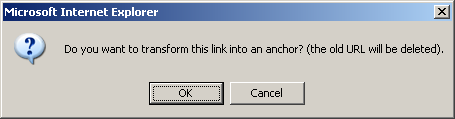
Note: When you make a selection in the Target
drop-down menu, a window will pop-up asking you if you want to transform
the link into an anchor:
Click Cancel.
With this, the first link is created. You can save the
changes, and test it in the display page.
Create the other links in the second paragraph of the
first column. Select the following texts and make them links (just as
shown above) to the pages indicated below:
"MX Form Validation" -- http://www.interaktonline.com/Products/Dreamweaver-Extensions/FormValidation/Overview/
"MX User Login" -- http://www.interaktonline.com/Products/Dreamweaver-Extensions/MXUserLogin/Overview/
There are two links to be created in the second table
cell:
Select "Try" and make it link to http://www.interaktonline.com/Products/Bundles/MXKollection/Try-Download/
Select "Buy" and make it link to http://www.interaktonline.com/Products/Bundles/MXKollection/Buy/
Save the changes
and then return to the edit page.
Create links in the Benefits section
There are five links to be created in the first table column of this
section. Select the following texts and make them links (just as shown
above) to the pages indicated below:
"Database web applications" -- http://www.interaktonline.com/Products/Bundles/MXKollection/Benefits/Details/Database+web+applications.html?id_sol=52
"Get accurate information from your site visitors"
-- http://www.interaktonline.com/Products/Bundles/MXKollection/Benefits/Details/Get+accurate+information+from+your+site+visitors.html?id_sol=5
"See more benefits" -- http://www.interaktonline.com/Products/Bundles/MXKollection/Benefits/
Go to the second table column and transform the following texts into
links:
"See all features" -- http://www.interaktonline.com/Products/Bundles/MXKollection/Features/
Save the changes and then return
to the edit page.
Create links in the Flash movies section
In this section, consider each column of the table: both the image and
the text below it link to the same page. To learn how to create a link
on an image, follow the instructions below:
Select the image in the first table column (click on
it).
In the Link text box of the
Image Inspector enter the following URL: http://www.interaktonline.com/Products/Bundles/MXKollection/Overview/Form+Validation+in+a+browser
With this, the first image link is created. Save the
changes, and test it in the display page.
You'll see that the link opens in the same window. Press the Back
button in browser to return to the previous page.
Make the text in the second row of the first table column
a link to the same URL address. If you follow the steps presented at the
beginning, this text link will open in a new window.
In a similar manner, make the image and text on the second column links
to http://www.interaktonline.com/Products/Bundles/MXKollection/Overview/Usable+form+validation,
and the image and text on the third column links to http://www.interaktonline.com/Products/Bundles/MXKollection/Overview/Image+Upload+%26+Display.
The "See all Flash movies" should link to http://www.interaktonline.com/Products/Bundles/MXKollection/Flash-Demos/.
Save the changes and then return
to the edit page.
Create links in the See also section
In this section you'll create a link in each cell. The links on the
same row point to the same page:
In the first table row, make the image and the "KTML"
text links to http://www.interaktonline.com/Products/KTML/Overview/.
In the second table row, make the image and the "MX
Kart" text links to http://www.interaktonline.com/Products/Dreamweaver-Extensions/MXKart/Overview/.
Click Save to keep the changes you have made.
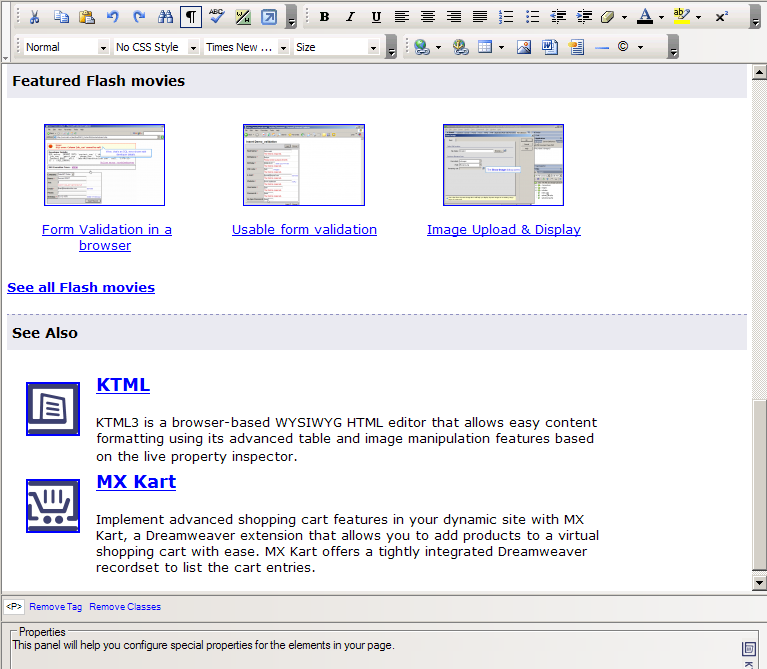
After following all the steps above, the KTML
area in the edit page should look like below
(when showing the invisible
elements, namely the table borders):
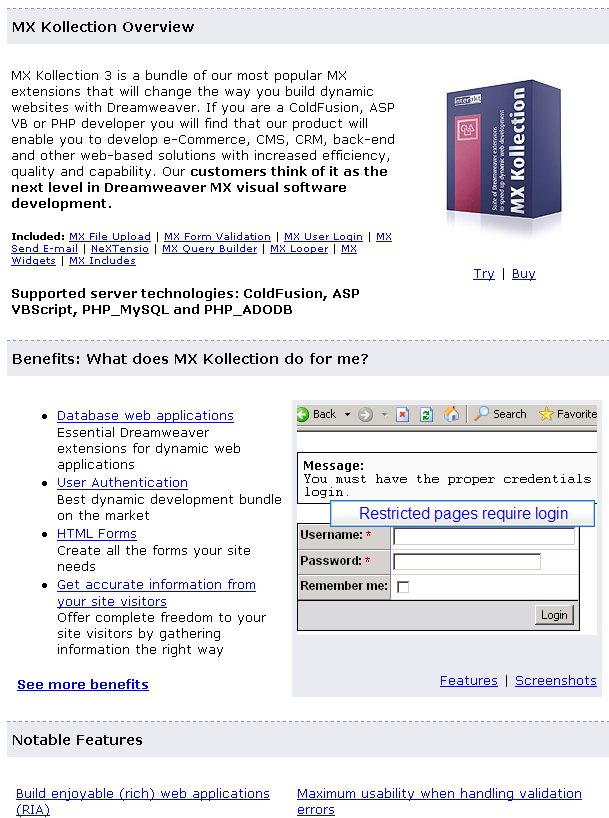
After creating all the links and saving the changes,
the display page looks as follows: